I've always been fascinated with pen & ink sketches. You see them from court room reporters, where they are not allowed to use cameras, but can capture the scenes via pen & ink and watercolor washes. What's fascinating to me is how some simple lines and a wash of color can convey so much information.
So, when I decided to try pen & ink drawing, I did a lot of research of various tools. Or as I discovered line & wash as the Brits call it. Or if you want to merge the two, pen & wash. Along the way, I found the following YouTube video, that showed an artist doing a sketch in Venice, Italy. What was fascinating to me is that he was using just a fountain pen and a water brush to create a "painting" type effect with his pen & ink drawing.
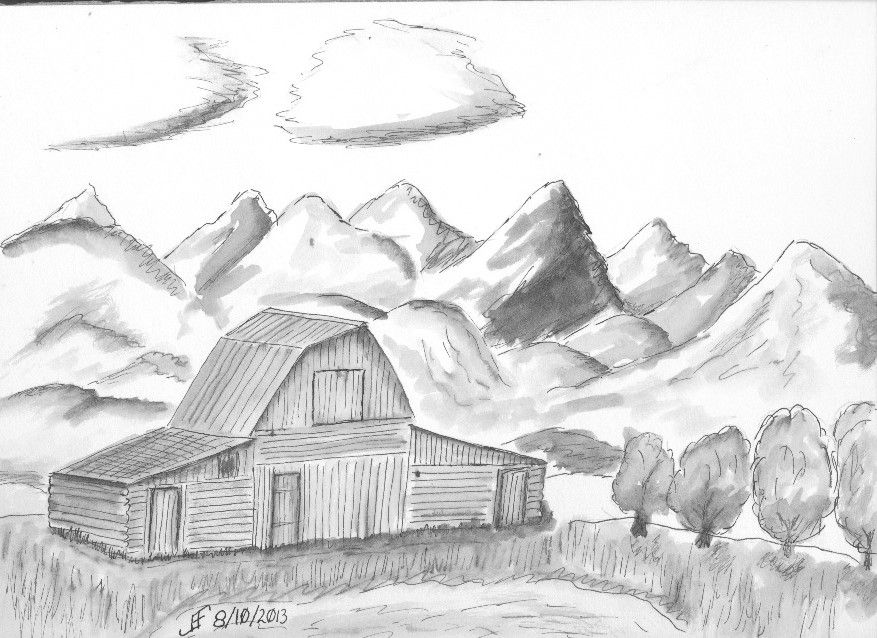
Clearly, this had real potential. I had a calligraphy pen with a sketching nib, plus a waterproof black ink for calligraphy. I decided to attempt a fairly quick sketch. The following was that attempt:
My next effort combined both the pen & ink and the watercolor:
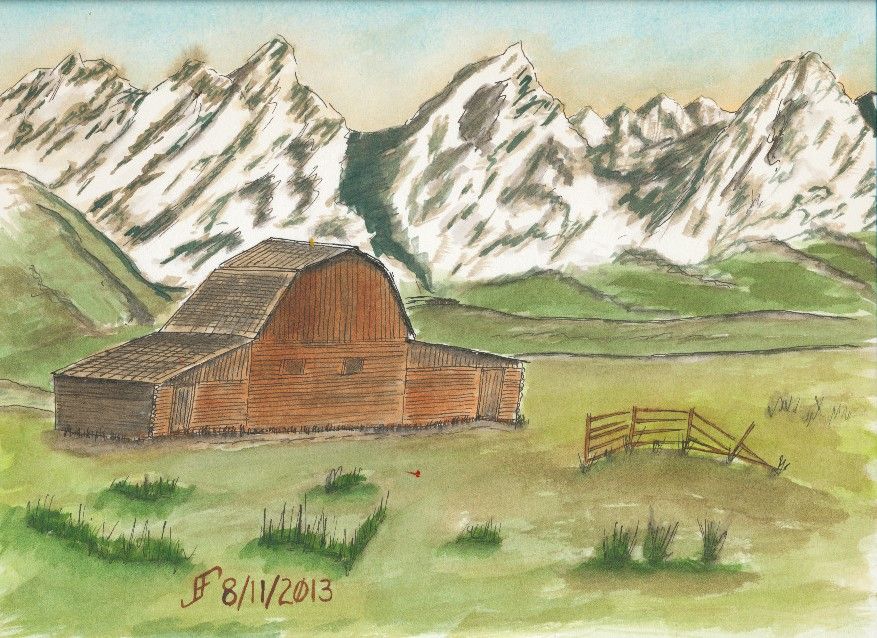
It came out fairly well for a simple sketch. I can definitely improve it, but I was wanting to see if it would work well with watercolor. I still was using the dip calligraphy pen. So, it was more tedious than I would like for a detailed painting.
I was pretty pleased with the results. But the constant dipping in the ink was NOT an option for any type of field sketching. I wondered if there were fountain pens and inks that would be good for this. Inks that are waterproof tend to be VERY bad for fountain pens. Worse, the last time I had looked the cost of fountain pens was through the roof.
I did a lot of research and reading. I found The Goulet Pen Company with their blog entries and many other sites that referred to Noodler's Ink. Some of their inks are formulated to be both waterproof and quite resistant to UV light. Plus, they make several fountain pens that can flex to create broader lines as you apply more pressure to the nib.
Then I ran across the following video:
Wow! Now, if I could only do that type of art. But it showed that with plenty of practice, I could achieve more with a flex pen than I could with a fixed size nib.
 So, I started to research the Noodler's Ink Ahab Flex Fountain Pen. One thing that became obvious is that the pen would probably need some tinkering to get it to do what I want. Of course, that satisfied the engineer in me. I love tinkering with tools.
So, I purchased an Ahab pen from The Goulet Pen Company. And I purchased both the Noodler's Blank and Seipia inks. My first attempt at using the sepia was not too bad.
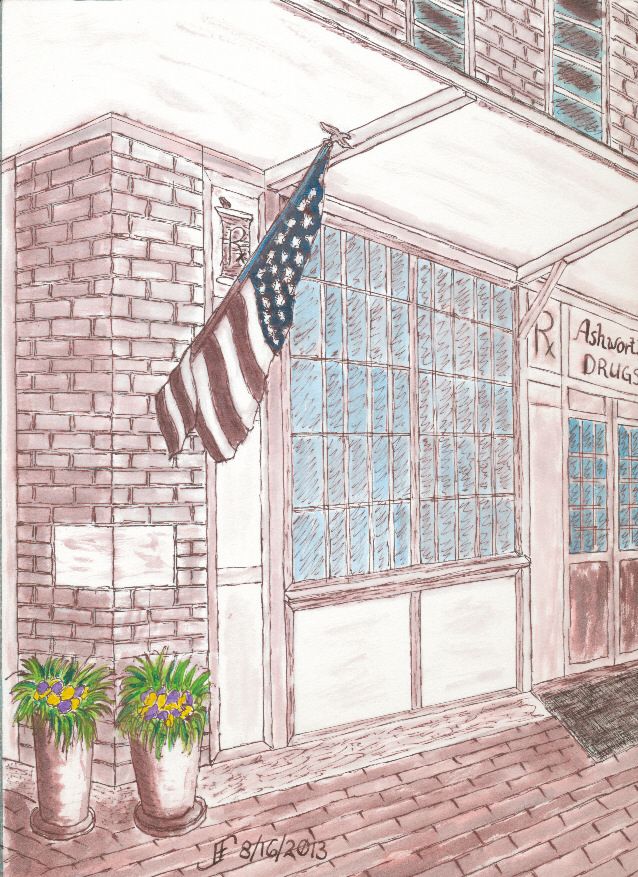
When I was preparing for this painting, I found that I had to tinker with the Ahab pen to get it to write more smoothly. That is, while it was fine for writing, using it as a sketching tool required a LOT more ink flow than it wanted to give. Nathan of Noodler's Ink offered a video that describes how to adjust the nib and allow greater flow through the pen.

One thing he mentions is that you can cut the Ebonite with a knife or box cutter. I took that idea and flipped it, using a Leatherman Multi-Tool. Instead of holding the Ebonite feed and cutting down into the feed, you hold either the file or serrated blade and run the Ebonite feed along either of those. Use only the very edge of the file. This will cut down with the edge into the feed channel. It will widen the feed channel and it will cut down into it. To clean up the edges and make it smoother, replace the file with the serrated blade. Not the saw blade, but the serrated knife blade. This will cut into the feed channel and smooth the edges where the file had run. By holding the Ebonite ink or air channels above and cutting down into either the file or the blade you maintain far better control and much greater safety.
After doing the painting, I wondered if something was still wrong with the pen. Drew Brown of The Goulet Pen Company helped answer my question. In addition to modifying the ink and air channels, he mentioned that more often than not using heat to set the Ebonite feed helped solve the ink flow issues. Also, he noted that some of the Noodler's Inks did not run as smoothly through the pens. So, I think I will:
First, I will change the ink from the Sepia to Black. The Sepia ink seemed a bit thicker, more viscous than other fountain pen inks I've used in the past. It's possible that it just does not flow all that smoothly. Obviously, if the black ink does fairly well with the pen, I will leave the pen "as is".
Second, if the pen is still too sluggish for sketching, then I will try to deepen the air and ink channels in the Ebonite feed. This procedure is fairly simple and should be able to make a difference.
Third, if the pen remains sluggish, I will set the Ebonite feed using a pan of simmering hot water to make the feed a little more pliable. I note that the feed is very tight against the nib. Per Nathan of Noodler's Ink, you should be able to just put a piece of paper between the nib and the feed. In fact, when I'm changing the ink I might test that. If it's too close, then I will skip to these step.
Oh, and I need to finish double checking the various dimentions I will use to cut the mat for the Ashworth Drugs painting. That should keep me busy.
Mentioning that ... I will try to enter two pieces into the Fine Arts League of Cary 11th Annual Senior Show. You can enter upto two pieces. I think I will enter my Butterfly on Sunflower and Ashworth Drugs pieces.
I'll keep you posted.
An update .. I tested with the Noodler's Black ink. It worked better, but is not quite there. So, it's time to empty the pen back into the ink bottle. Then a thorough cleaning of the pen:
Then I'll work at deepening the ink and air channels on the pen. I will first test the nib to the feed to be certain that it has enough space. If not, I might tinker with setting the feed so it fits better.
Final Update: .. I found that two things help. First, I need a REALLY wet flow of ink when I do the deep flexing. This seems to have the pen performing just about how I want it. I may smooth the nib a little bit in the future. But right now I want to practice with it for several weeks.
So, what did it take. Well, I had to deepen the ink and air channels. It now tends to lay down a wet line when I do deep flexing. That's okay. It keeps up with my need. But it does not lay down too wet a line if I am not flexing it. I don't want to change anything at this point.
Did I need to do anything else? Yes. I found that the nib and the feed were pressed too firmly together. They should be just a small distance apart to allow the capillary action to perform correctly. The best way to check this is to see if you can slip a piece of paper between the nib and the feed. If they just catch, but can move with a little bit of resistance, then it's just right. If it can not slip between them, then the nib is too close to the feed. And if there's no resistance, then the nib is too far away from the feed.
What did I have to do about that? Well, I just backed the nib and feed out of the pen a little bit. I had pressed them too firmly into the pen. With them backed out just a little bit, there's enough room for the capillary action to work. Voila! I am now one very happy camper.
Many thanks to The Goulet Pen Company!! They did a superb job helping me tackle this problem. I can highly recommend them as a company.
No comments:
Post a Comment