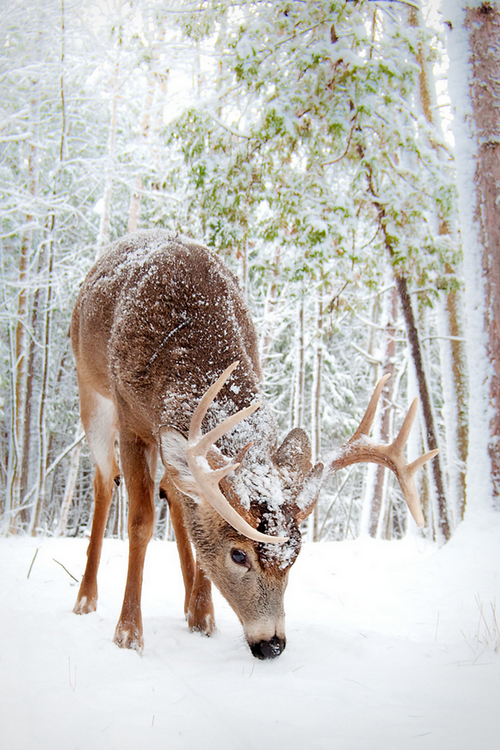
I thought you might like to see how I create the under painting using pen & ink. I've been working on the a deer feeding in winter. This is a "work in progress", so you get to see it before I add the watercolor to the painting.
As you can see, I try to outline my subject, then use a waterbrush to create the texture of the painting.
All of what you see is just pen & ink work. I am using a Noodler's Ink brush pen. The ink is Noodler's Ink Polar Brown. It's a permanent ink that binds with the cellulose in the paper and becomes quite permanent and lightfast. But by using the waterbrush it may not be as lightfast as I would like. So, the watercolor added to the painting solves any problems due to fading.
You can also see that I by using my pen & ink I tend to get an image that feels as if it comes out of an illustrator's guide, rather than a pure watercolor painting guide. But that's okay, since I am really drawn to the pen & ink work with watercolor.
As you can see, I also provide a small copy of the reference photograph that I am using. As you can see, it's a wonderful photograph.
Hopefully you will enjoy seeing the work in process and the resulting painting.
Well, I picked up my pen and paint brush and dashed off a few sketches this week.
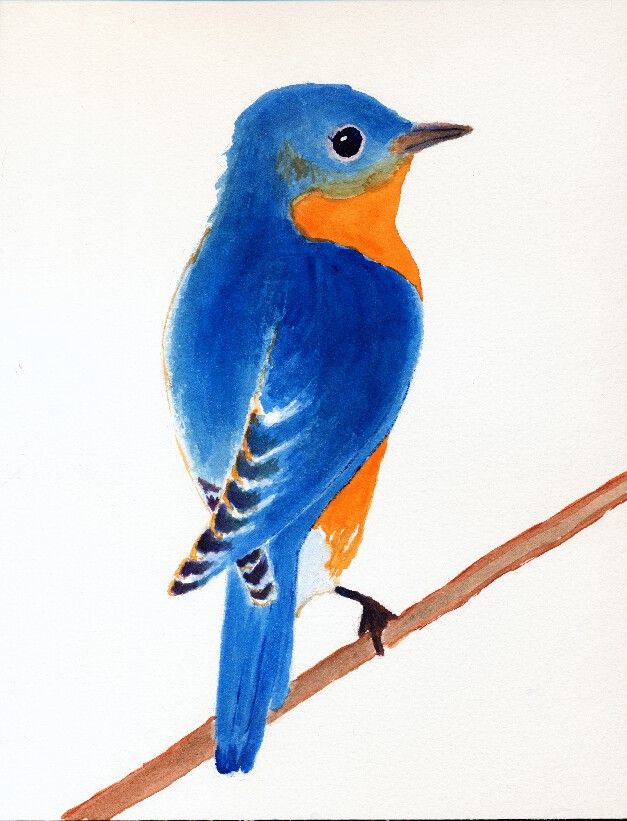
First, is an Eastern Bluebird. It is just a sketch, of which I am thinking how to finish the background. I think I'll use some Blue Ridge mountains and an early morning sky. Stay tuned for more to come!
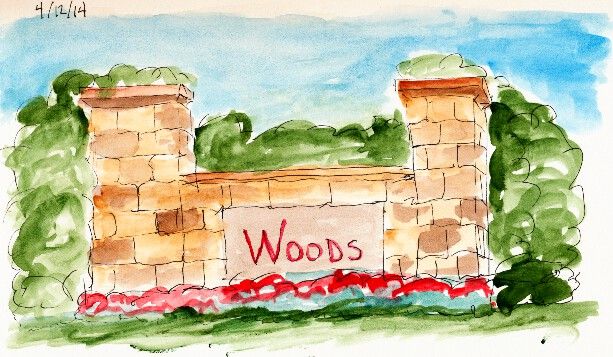
The second sketch is a representation of the small partial walls that you often see at entrances to various neighborhoods. These are not gated communities. It's just a way to show how sturdy and substantial the neighborhood is.
Nothing really spectacular. But that was not my intent. I just wanted to see if I could now better capture the look of real stone and how it varies from block to block. My brush is much looser and more impressionistic than it used to be. I make progress.
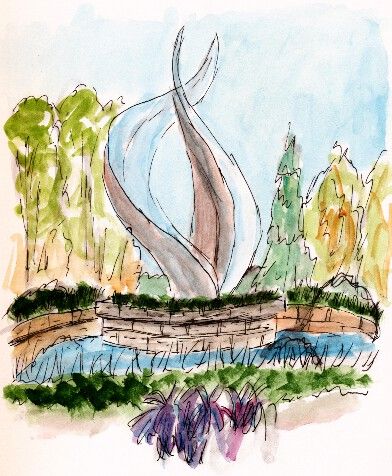
The final sketch is a quick sketch of a fountain near one of my doctor's offices. The flame-like structure is a steel sculpture in the center of the fountain.
My hope was to capture the feeling of the fountain. I think I did fairly well for a quick sketch.
Hope you enjoy and remember to keep on looking for the beauty that surrounds us.
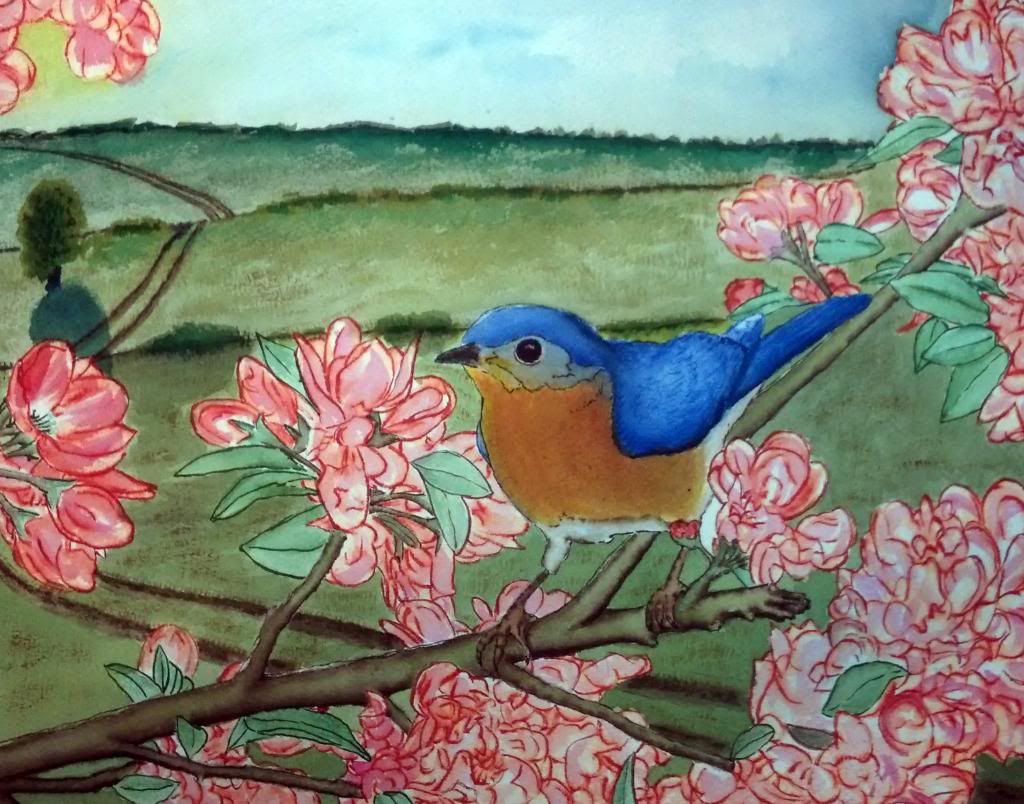
Well, as promised, I completed a larger (11 x 14 inch) painting of the bluebird. I might make a few more tweaks to the colors. But on the whole, I'm pretty pleased with this one. Unfortunately, the brilliance of the colors do note really come through on this picture. My phone (which I used to take this picture) tends to emphasize the blue more than the warmer colors. Perhaps tomorrow I will have it scanned at the copy shop.
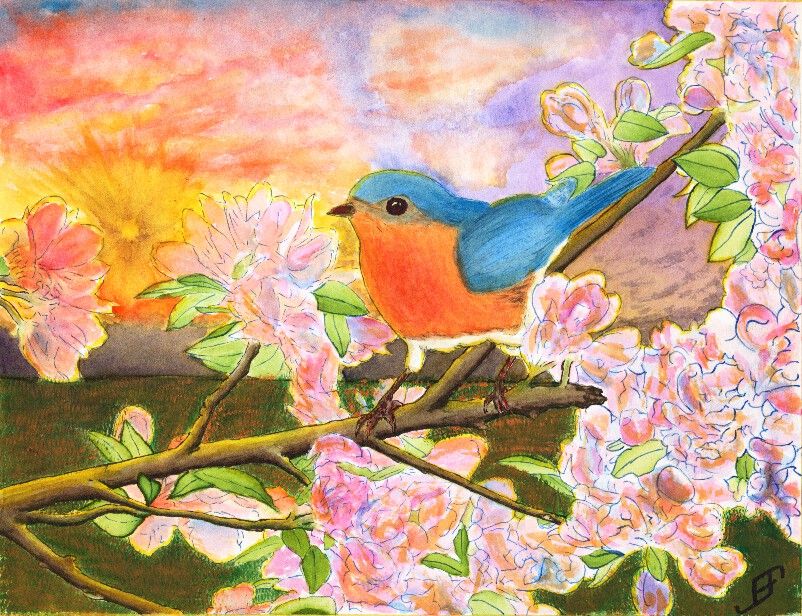
After several eventful weeks that have kept me too busy to do any painting, I decided to try to tackle something a bit more complicated than normal. Believe it or not, this Blue Bird painting is a Pen & Ink with watercolor painting. The tree, flower and foliage as well as the blue bird are done in Pen & Ink. However, the blue bird and flowers had some water color to add additional depth to the painting. The limb and foliage are exclusively done with ink.
This painting is not an ideal painting. For a very bright and busy foreground it would be better to use a simple background. While I could have painted a much simpler sky, I wanted to try some techniques. This includes the sunburst effect and a more complex cloud scene.
The sunburst effect would have been better had I used a simple spray bottle to add some dark patches headed toward the sun. Tom Jones recorded (for Jerry's Artarama) an example of how to do this. The following video shows one technique.
To create the sun burst on my painting, I would have had to use a masking fluid and paint in the background first, remove the masking fluid and then do the foreground painting. I actually did it in reverse order, since I was more interested in the foreground painting.
Unlike my previous version of a bird (gold finch) in a red bud tree, I played around with the color of the blossoms a bit by adding some orange to the blossoms. I also backlit the limbs, flowers, foliage and bird with the yellow of the setting sun. That combined with the orange tint of the flowers - which often appears toward sunset - helps set the stage for Bluebird out at sunset. And that would not be correct for bluebirds. Should I claim "Artistic License"? .. Not really. It would have been better with a simpler sky. If I needed it backlit then a early morning sky / sun would be a better choice.
Why that choice? It's both more accurate to the bird and would provide a simpler background.
Again, I should have done the background first. That would allow me to add in the detail to make it fairly convincing, yet keep it .. well .. in the background!
You will note that there is a good deal of detail in this painting. I post this in a larger format on the blog because I am fairly pleased of that. The field of mown grass feels more natural than others I've done in the past. The detail of the limbs. Shoot, even the feet of the bird have a lot of detail.
Still, it's too busy. I created an 11 x 15 inch, stretched watercolor paper canvas this past Friday. I will probably use it to paint this subject .. But this time, I will use a simpler background. I will set it as a mid-day painting.
Those of you that have followed the link to my blog know that I see my blog as a way to "learn perspective". Over the years, I learned and relearned that one of the best ways to master any skill is to take the time to teach others those skills. It reinforces what you know. And it often gives you the chance to expand your knowledge.
And that's just what happened when I posted my Gold Finch painting from a couple days ago. I knew it was almost there, but it just did not "feel" right. There was something jarring about the painting that I could not quite clarify.
Some people suggested that the background (the field) was too dark. That wasn't quite it. I knew the dark field at sunset was both natural and provided a startling backdrop for the bird and red bud tree.
I continued to struggle at articulating what was not quite right. I was very pleased with some of the contrasts. Light versus dark. Yellow-orange versus blue-green. Left slanting limbs versus right slanting bird and sky. Lots of interest for the eye. Still, something needed improvement.
decrease of the size of objects proportionally with distance
muting of colors with distance
decrease of the precision of details with distance
As I look at it, he is spot on. All three of those rules were not in play in my painting. I missed the fact that size of the "plants" needed to decrease with distance. I missed the fact that distance between the rows needed to decrease with distance. I missed that the detail needed to be greater closer and less pronounced further away. And finally, the problem with the background color was not that it was too dark, but rather that the color did not become more muted (greyed) with distance.
Once again, taking the time to teach others paid off for me. I learned an invaluable lesson in a way that will maximize that I will really employ it. (The greatest acceptance of knowledge comes when you are ready for the lesson. I've known about perspective. I just was not ready to internalize it with one of my own paintings. Now I see what I was missing. Lesson learned ... Now to practice what I've learned).
So, can you now see what I found this painting both a delight and jarring at the same time?
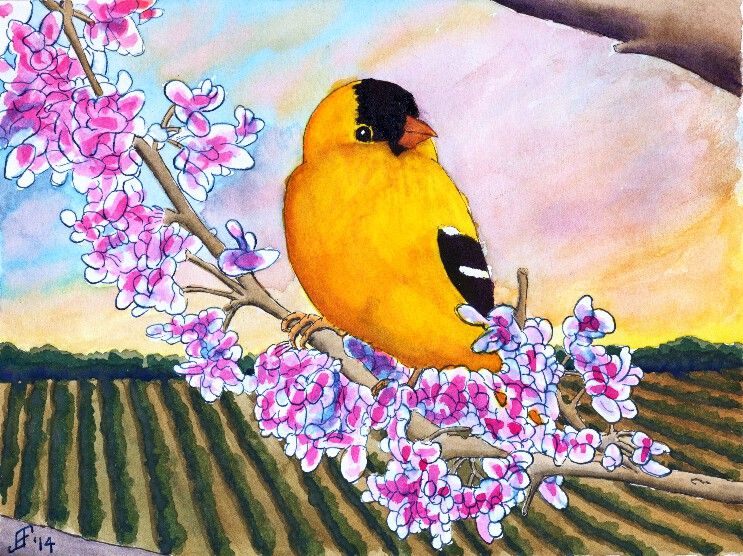
This time, I decided to try to do the Gold Finch as a traditional watercolor with pen & ink. To complete the painting, I did the painting in several stages.
First, I sketched the painting in pen & ink. I used Noodler's Black Ink on the limbs and bird. For this, I used a Noodler's Ink Brush Pen to paint the lines of the limbs and bird. This allows a varied line based on the subject. I also used Noodler's Black Ink for the black feathering of the Gold Finch. I used Noodler's 54th Massachusetts Ink (a blue black ink) for the Red Bud flowers. I used a traditional fountain pen to draw these lines. This kept the lines much lighter. However, I used a Pentel Aquash waterbrush to spread the ink to provide the blue shading in the flowers. I also used the waterbrush to create the shading of the limbs. I am pretty pleased with that overall effect. Oh, and I used Noodler's Yellow Ink to "paint" the yellow feathering of the Gold Finch.
Second, I spent a good bit of time applying masking fluid to all the exposed inked portions of the painting. This allowed me to paint over the previously inked portions and create the background for the painting. I decided to create a field heading off toward a hedge row (typically separating fields) in the background. And I wanted the sky to be a setting sun.
You will note that for the composition of this piece, I placed the Gold Finch in the center. Then the tree limbs reach from bottom right to top left. The field due to perspective switches from an up and down appearance on the left side of the painting to one that follows the tree limbs on the right hand side of the painting. And the sky runs counter to the tree. All of these thinks set eye in motion as it scans the painting, but draws the eye back toward the center.
As you might imagine, this painting took longer than my normal paintings. I hope you enjoy the results as much as I enjoyed painting this.
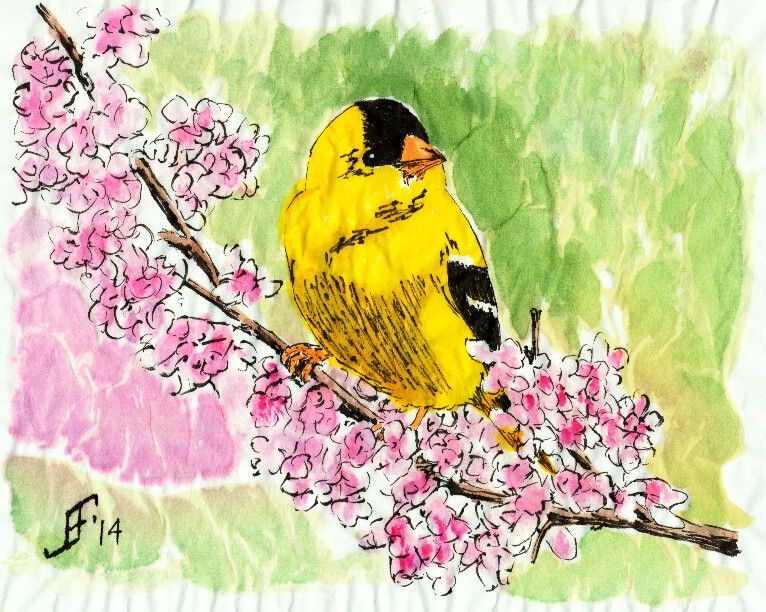
Using similar techniques as I used with the cardinal, I painted this gold finch on a branch. As we brace for winter weather, it helps to have something cheerful to brighten the day. I hope you enjoy the results.
In case you are wondering, the black in the painting is Noodler's Black Ink, which is one of the "eternal" Noodler's Inks. It does not fade, even in direct sunlight. The yellow of the gold finch is Noodler's Yellow ink. It is supposedly an "eternal" ink, but testing by others has shown that it does fade in direct sunlight. So, this painting will need to be put behind UV protecting glass or acrylic. The remaining colors are watercolors.
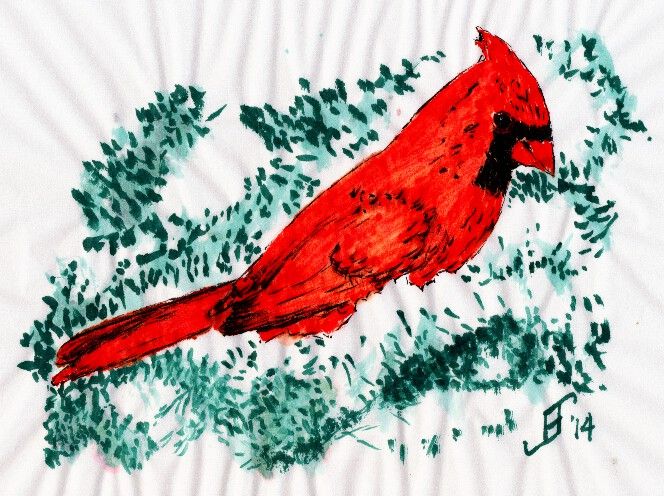
Here's a cardinal sitting on a snowy fir tree branches. I decided to take what I've learned with the Chinese Brush Painting (the little that I've done) and mix it into more western style pen & ink with watercolor painting. I hope you enjoy the results.
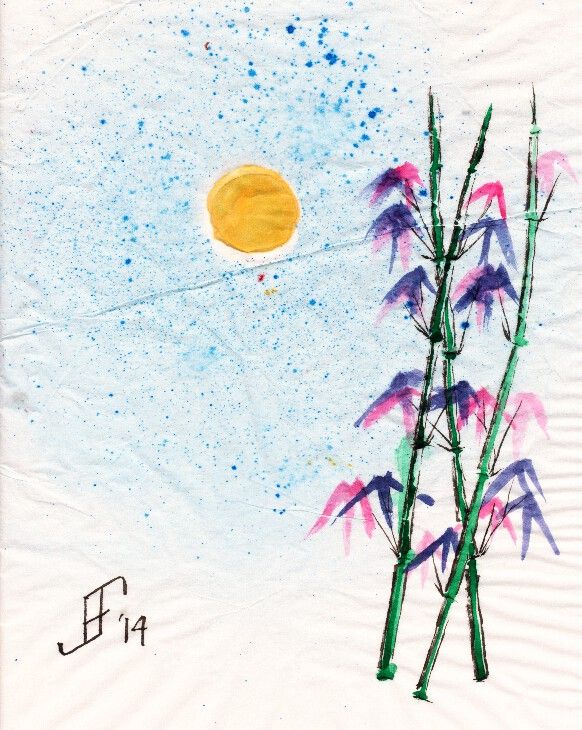
I continue trying to learn more how to do Chinese Brush Painting. Frankly, learning a new technique is a lot of fun. And in a way, by emulating the techniques of Chinese Brush Painting, I am learning how to be looser with my painting. The looser style (Freestyle or Xieyi or 寫意畫) is rather impressionistic.
Xieyi is also known as freehand style. Unlike gongbi (a realistic style), Xieyi does not seek to strictly reflect reality. Ancient artists believed that a painting should reflect how an artist sees an object, in addition to its actual appearance. The word "xieyi" means to "write to idea," and this style emphasizes the artists perceptions and thoughts as much as the actual form of what is being reflected. Proportion, light and perspective are all secondary to the artist’s personal conception of what an object is. (See http://bit.ly/1czohQ4 for the full text).
Learning how to suggest the branches, without all the detail is good practice for me. I hope you enjoy this effort as much as I enjoy learning the techniques. It should be interesting to see how well this does once I am able to mount it.
Well, it's time to get back to painting. As I may have mentioned, I had a partial vitreous detachment in my one good eye. Though it's not a problem and did not lead to a retina detachment, as I first worried, it did leave a "big honkin' floater" (per the senior ophthalmologist, who examined me) in the MIDDLE of my field of vision. But they are right. Eventually your brain mostly ignores it. And after several weeks of playing various computer games, I mostly don't notice it, or can rather automatically flick my eye to move it out of my way.
So, let the paintings begin. I went to the Art of the Carolinas during the beginning of November. While there I received a sample of Sennelier watercolor paint. Like my M. Graham watercolor paint, it uses honey as one of the binders. This allows the paint to retain a moist quality. Surprisingly, the prices are similar to the M. Graham. And the colors are wonderfully vibrant. I might add some of them to my palette. I'm happy. I now have two paint lines from which I can get the type of watercolor paint that I like.
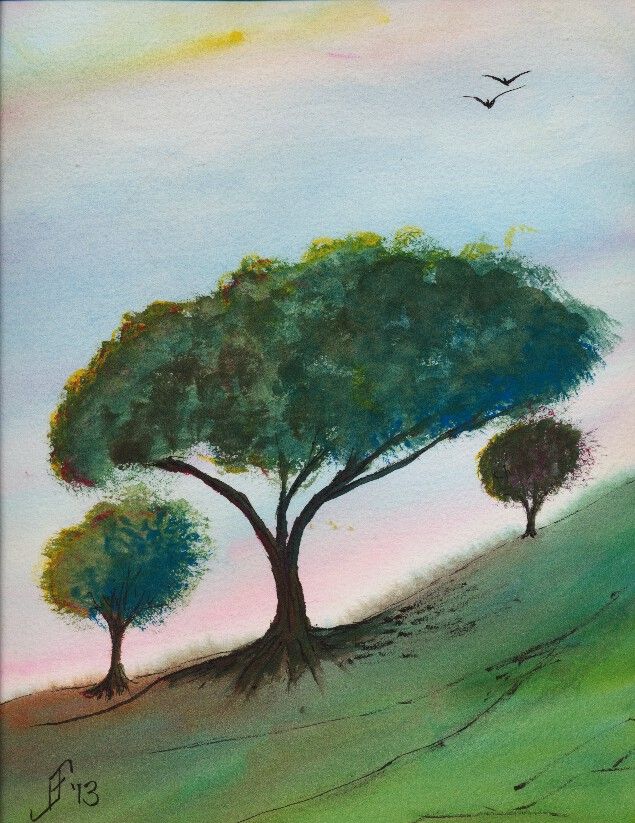
This 10" x 14" painting is done on a Daler-Rowney The Langston Prestige watercolor block. I only used three paints to create this painting. It includes a yellow, red and blue. The yellow is Sennelier Yellow Light. The red is Opera Rose. And the blue is Cinereous Blue.
The yellow and red are transparent watercolor paints. But the blue is opaque. So, I laid down the sky before anything else. Likewise with the green (blue and yellow), I assumed (correctly) that it would cover any other paint.
Unlike most of my pen & ink paintings, I added the ink to this painting after painting the subject. I usually add it before as an underpainting. There were two reasons I did not do it this time. First, and foremost, I wanted to try this paint without the confinement of the pen & ink underpainting. Second, I decided that just a touch of details to the landscape and trees would help.
This painting is not based on any reference photograph. It's solely pulled from my imagination. My intent is to portray a bit of a windswept hill in the area of transition between grassland and woodland areas. The time of year is early summer. It is past the yellow/green of spring, but not into the deep greens and dried browns of summer. Additionally, this is an early morning or early evening sky, with the sun just starting to set and casting a pink and yellow glow. I've seen a few of those sunrise / sunsets to know that when that happens it tends to dramatically increase the color vibrancy. It's almost as if we suddenly see a new color in the world.
Here's hoping this painting helps brighten your day, offering both warmth and hope for your day.
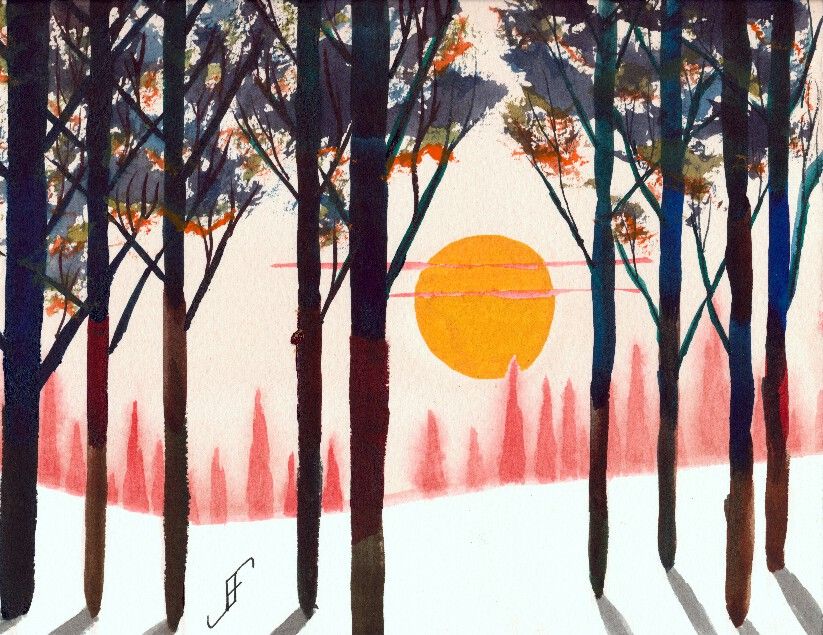
Today's project in my watercolor class was to create a misty type forest scene with a setting sun. Of course, I could not leave well enough alone and ended up going for a stylized scene.
The idea is that you have a forest in the far distance, more clearly defined pine trees in the middle distance and either deciduous or long leaf pine trees in the near distance. In the Carolinas this would be the sort of scene that you might find near a Christmas Tree farm.
But rather than going for standard color combinations, I decided to lean toward some more striking colors. So, the trees in the distance are redder than you would ever see in real life. And the nearby trees have vibrant foliage. The upper part of the foliage is darkened by the gloomy twilight conditions. The bottom of the foliage is highlighted with the setting sun.
Perhaps it's fantastical, but I had a lot of fun bringing the colors and approach of this painting together. Hopefully you will enjoy it as well.
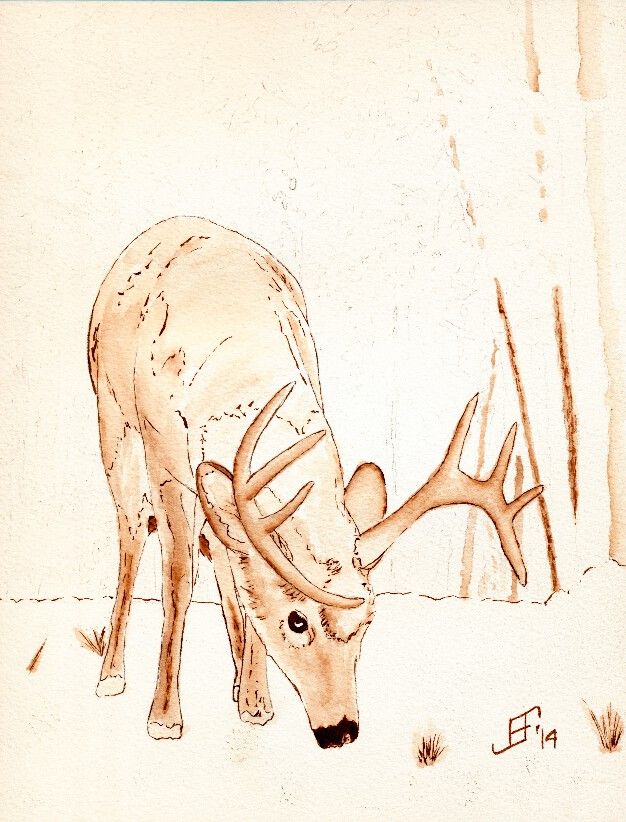 I thought you might like to see how I create the under painting using pen & ink. I've been working on the a deer feeding in winter. This is a "work in progress", so you get to see it before I add the watercolor to the painting.